LPH Customized SuiteCRM provides excellent SuiteCRM Tutorials including pages with detailed instructions and screenshots. LPH is here to assist your success

Groups Management - Teams Management - Security Management
To restrict access to Accounts, Contacts, Leads and their related data you must set up a Role in Roles Management and a Role in Security Suite management. After the roles are created they will be linked to both Users and Accounts & Contacts. IMPORTANT: To make the management of Groups work correctly Users, Accounts, Contacts, Leads ALL must be assigned to a Group.
1. Click on Role Management. 
2. The menu below will display.

3. The menu below will display. Fill in the Role name you want and click on Save
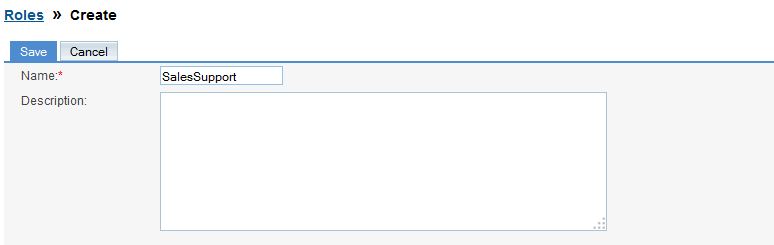
4. Click on List Roles

5. A list of Roles that have been created will display
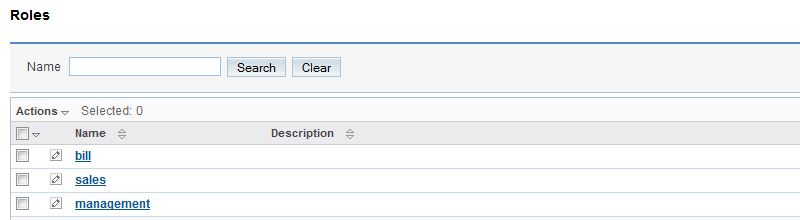
6 Click on the Role that you want to define (who can see what data and who is authorized to make changes.)
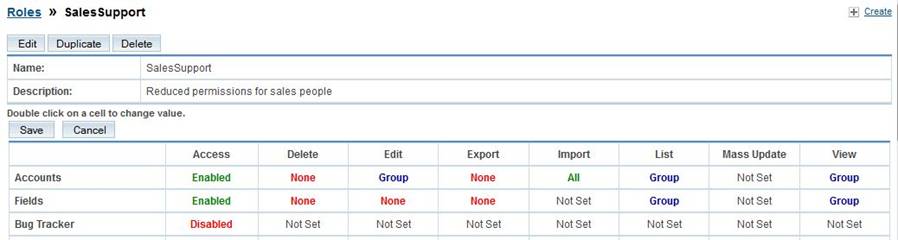
A partial example is shown below. Each cell can be clicked on and a menu with options will pop up (Examples All, None, Owner, Group) Make your choices and when finished click on Save.
7. Scroll to near the bottom of the page. Click on Select User.

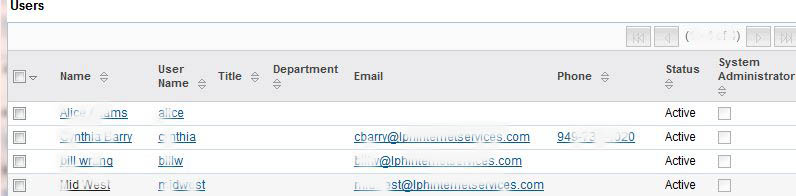
8. A list of Users will pop up. Click on the User or Users you want in the Group. Click Select.
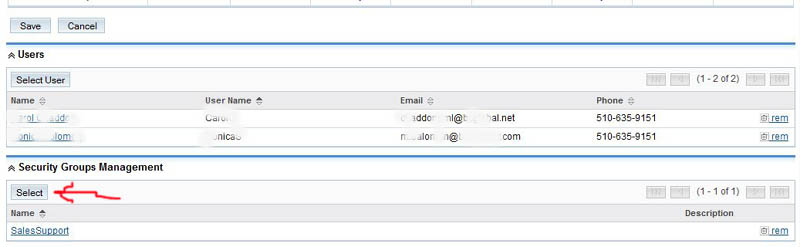
9. The Users included in the Role will be listed. Next click on Select in the Security Groups Management section.
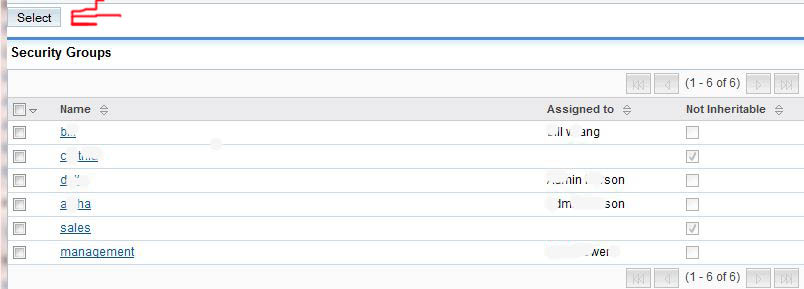
10. Click on the Security Group Role you want associated with the current Role. click Select.
If you need to create a Security Group Role, skip this step, create the Security Group Role and come
back to step 10. See instructions below on how to create a Security Group Role
11. The Security Groups Role you selected will display (see below) and will be associated with the Role

Create a Security Group Role
1. Click on Create a Security Group. (In the Roles sub menu)

2. The menu below will display. Fill in the Security Group Role name you want and click on Save
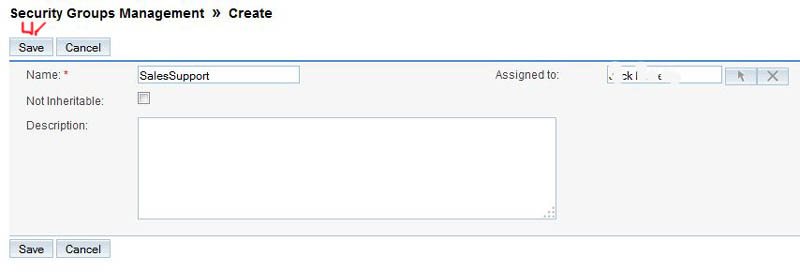
The Security Group Role will now display. Follow instruction in step 10.
At this point Accounts, Leads and Contacts can be assigned to a Security Group Role. This can be done by opening an Account, Lead or Contact and scrolling to the bottom of the page. Click on Select and choose the Security Group Role you want assigned to the Account, Lead or Contact.
To mass assign a Security Group Role
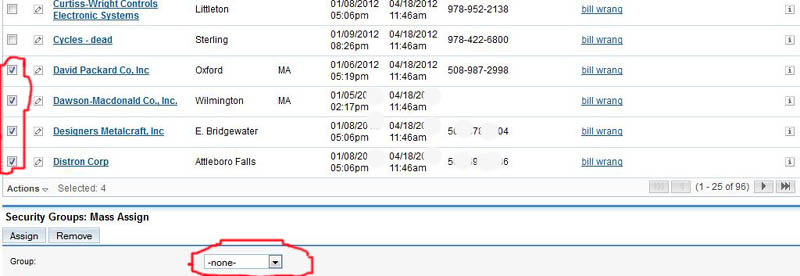
Go to a listing of Accounts, Leads or Contacts. Click on the Accounts, Leads or Contacts you want assigned to a Security Group Role (see check marks circled in red) Next select a Group from a pop up list by clicking on the arrow (see circled item) and selecting the Security Group Role. Click on Assign and all the selected Accounts, Leads or Contacts will be assigned to the Group you selected.